Image
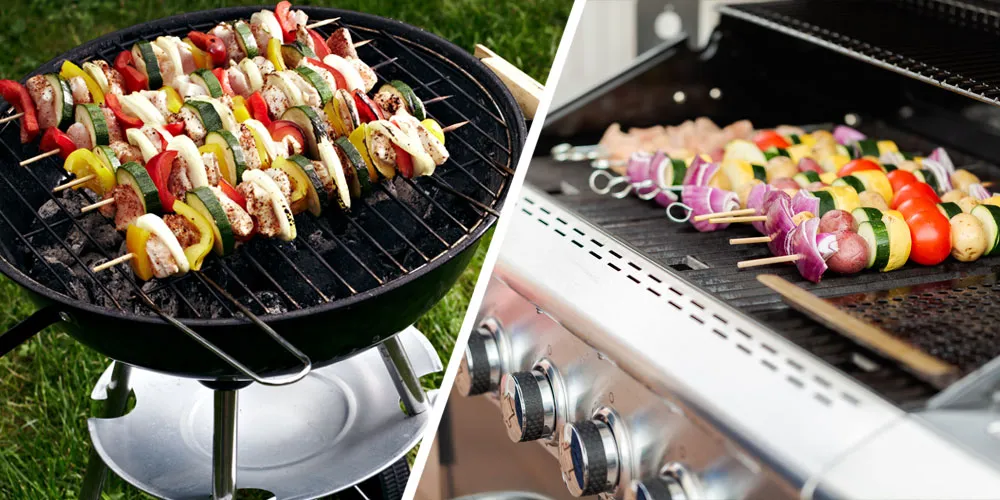

Grilling isn’t just for cooking in the summer. It’s a year-round way to cook that can be diabetes- and heart-friendly because you don’t need extra fat (like oil) to cook your meat, fish, tofu, vegetables, or fruit. Cooking with less fat can help lower the calories of your food.
To keep your grilled food moist, try marinades that use acid, like vinegar or citrus juice and zest. Fresh or dried herbs can also add a burst of flavor. Using these ways to flavor your food will help keep them lower in carbs, sodium, and fat.
The first question anyone grilling food must answer: Should I use charcoal, gas, or electric grill? Each has its pros and cons.
Charcoal grills:
Gas grills:
Electric grills:
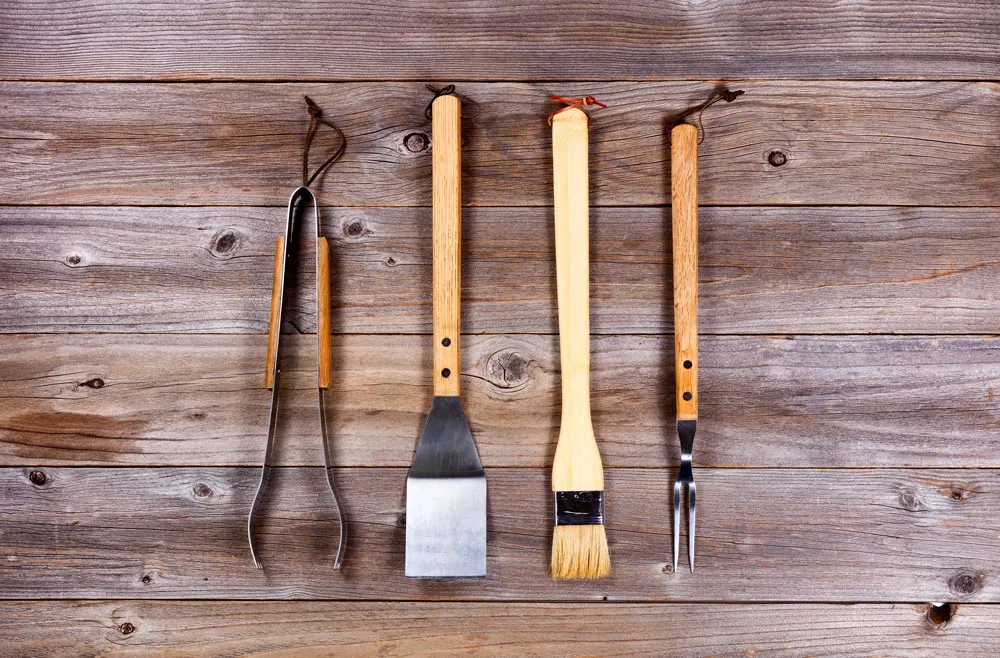
Depending on what you're cooking and what type of grill your cooking on, you'll want to have some or all the following on hand:
The prep is key no matter how you're cooking, but when you're working on the grill, it's even more important. If you gather all your supplies and do all the food prep in advance, you won't have to leave the grill while cooking.
Always make sure your grill grate is clean before you start cooking. For best results, scrub the metal grate with crumpled aluminum foil after the grill begins to warm up.
Make sure to wait until your grill is thoroughly heated (and coals are ready if you’re using them) before beginning to cook.
The two main ways to cook using a grill are direct heat and indirect heat. In direct heat grilling, the food sits right over the heat source. This is best for foods you want to cook quickly like vegetables, lean fish, and small pieces of chicken.
In indirect grilling, the heat source is kept on one side of the grill and the food sits on the opposite, cooler side. This cooks the food at a lower temperature for longer. It's best for tough cuts of meat, large roasts, and whole chickens or turkeys.
Leave space around the food as it sits on the grill grates. Air needs to circulate around the food, so it sears properly.
Try not to move the food around too often. You won't have sticking problems if you let the food really sear.
Grilling Recipes
Inspired to start grilling? There are many grilling recipes on Diabetes Food Hub! Here are a few of our favorites to get you started:


